Fun with Pixlr
Pixlr is an online tool used to create and edit images. It is based on the Adobe Photoshop, but does not have as many features as the actual Photoshop program. We will learn the basics of the tools, layers, filters and more.
Before beginning the activities - create a folder in your H drive, 6th grade computer folder, named "Pixlr Pics".
Save all images and edited images in this folder. Remember to rename the edited images by putting a 1 at the end of the file name.
Before beginning the activities - create a folder in your H drive, 6th grade computer folder, named "Pixlr Pics".
Save all images and edited images in this folder. Remember to rename the edited images by putting a 1 at the end of the file name.
Online Photo Editor - Pixlr - Click here.
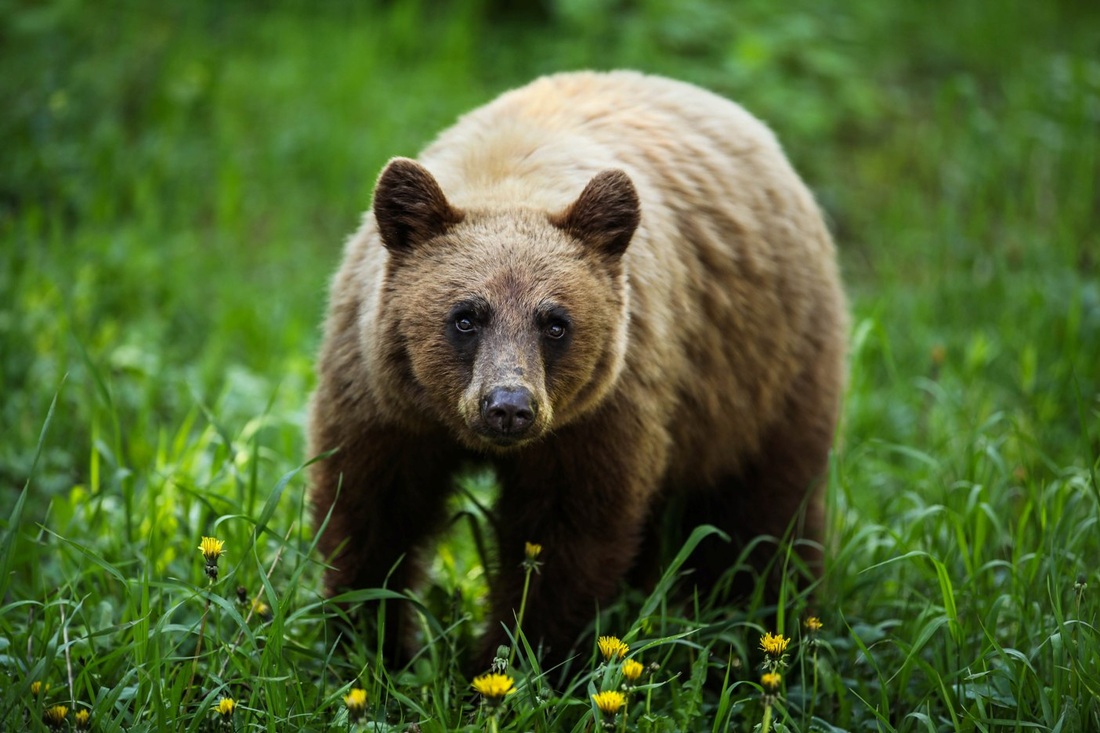
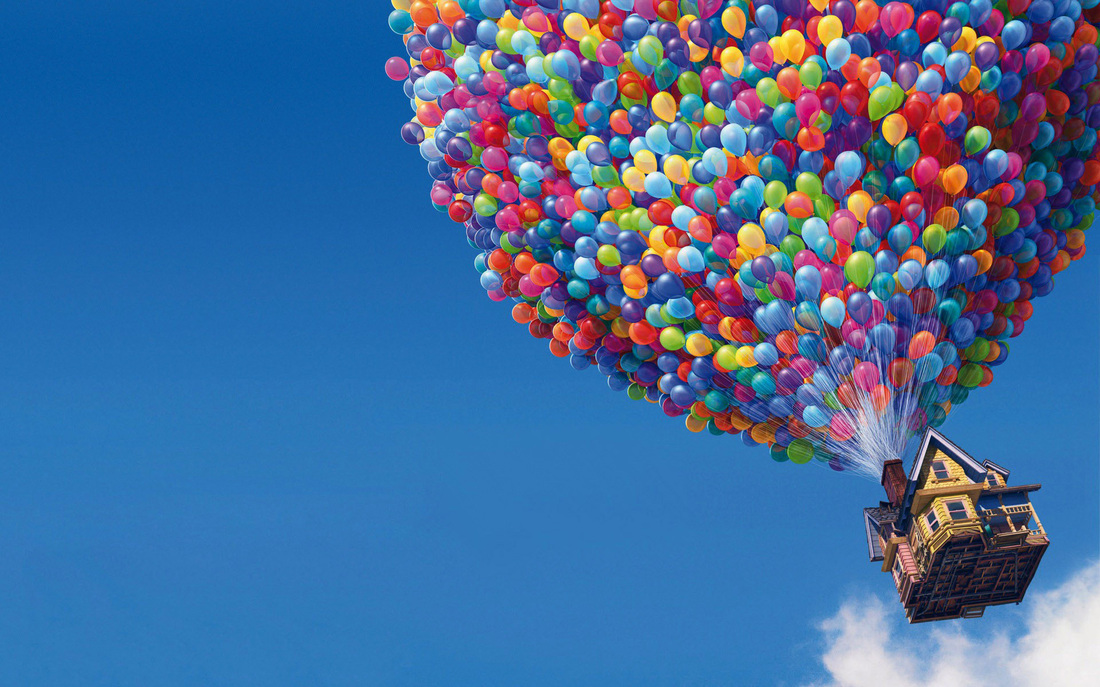
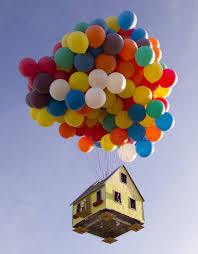
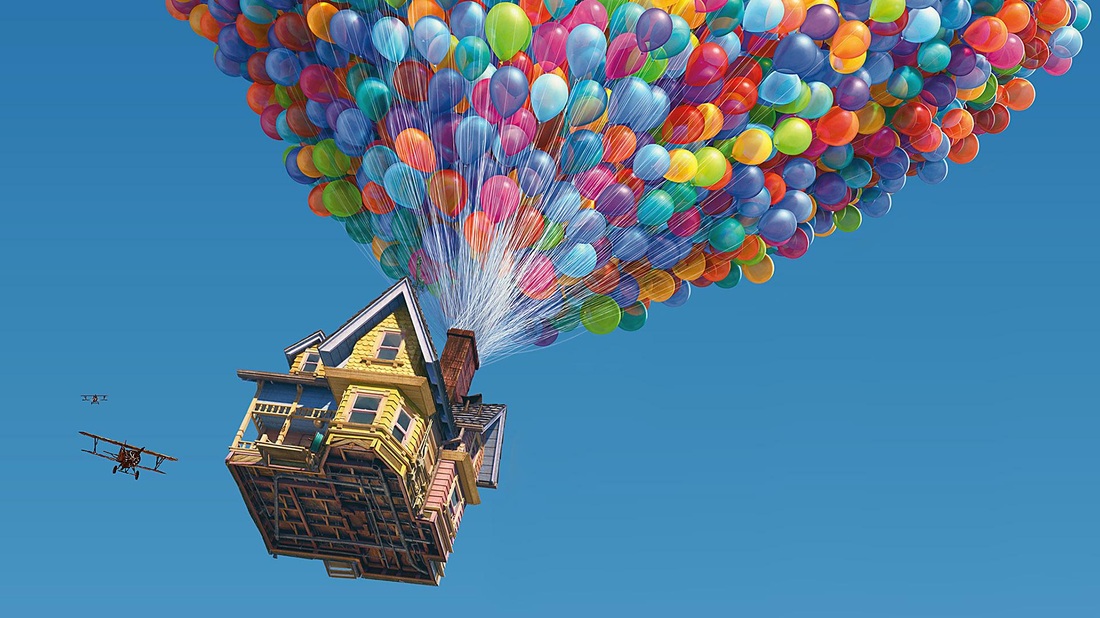
1. Getting to know the tools: Go through and play with the tools. Use the for pictures below, which are names with the tools you should use on them. We will do the first one together.
| lesson_1_pixlr_tools.pdf |
|
Use the Crop and Clone tools to edit these images.
|
Helpful TipsSaving - Always save as a PXD if you are not finished.
When you are done, save image as a JPEG Cropping - cuts out a specific part of a picture.
Ways to Crop: Crop, Marquee, Magic Wand, and Lasso tools will help you cut out or select parts of an image. Resizing - makes the images smaller or larger. Resize this image:
1. In Pixlr, Open image. 2. Go to Edit --> Free Transform 3. Click and Drag one of the blue corners to the size you want. ** The bigger you go, the image will get blurry. Other Editing Tools to TryUse the Adjustments Menu at the top of the screen. Try
1. Brightness and Contrast 2. Hue and Saturation 3. Color Balance 4. Sepia 5. Solarize 6. Desaturation 7. Old Photo 8. Cross Process 9. Threshold 10. Posterize |